用上好看的终端,写代码心情也愉快许多
是时候让我们的终端变得好看了毕竟颜值即正义
一.安装
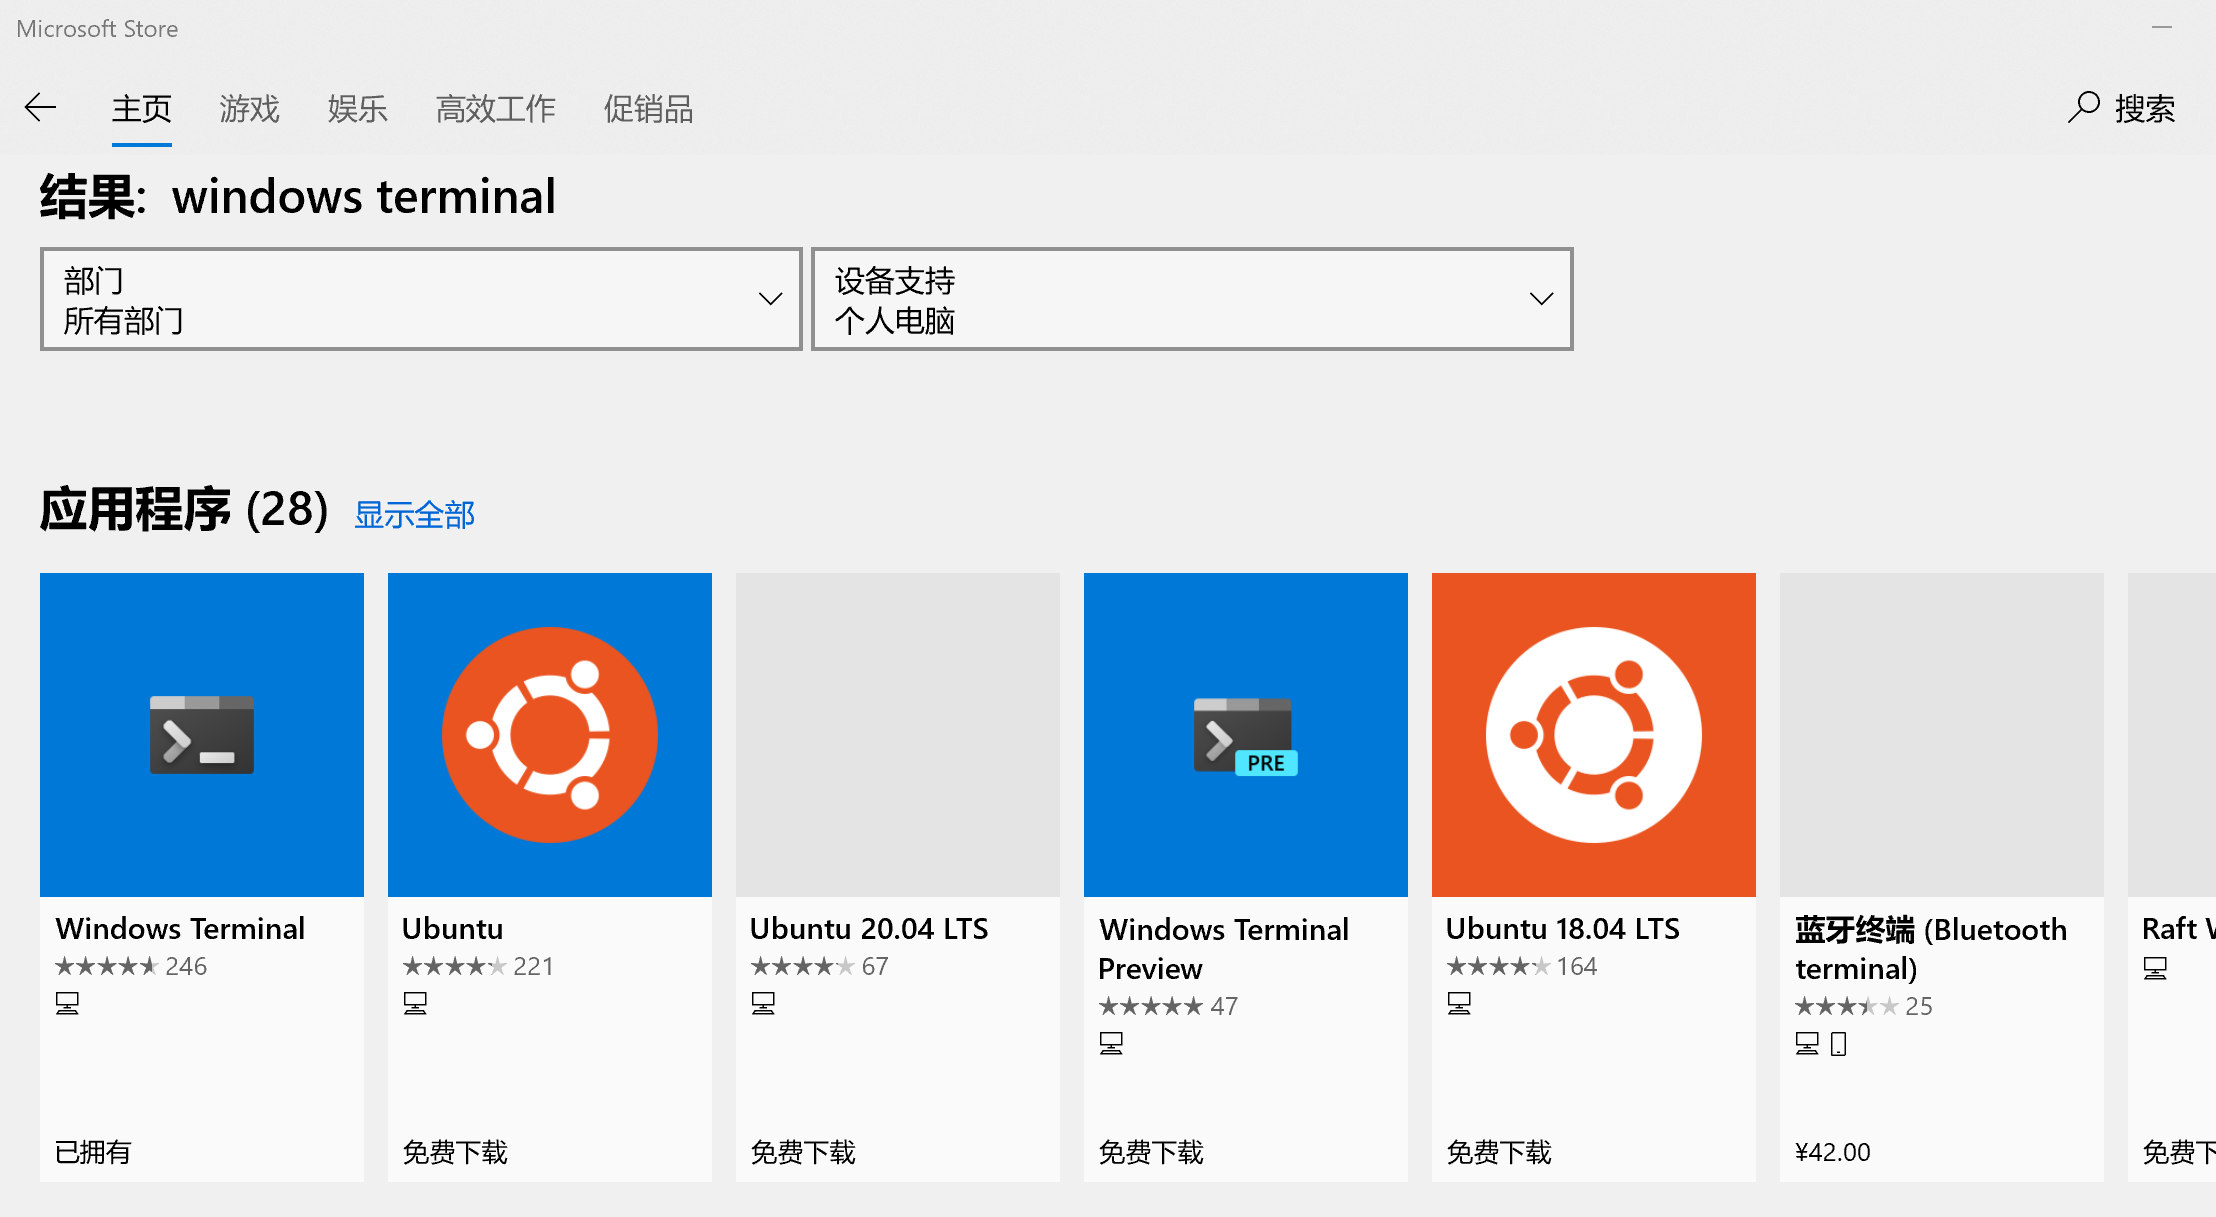
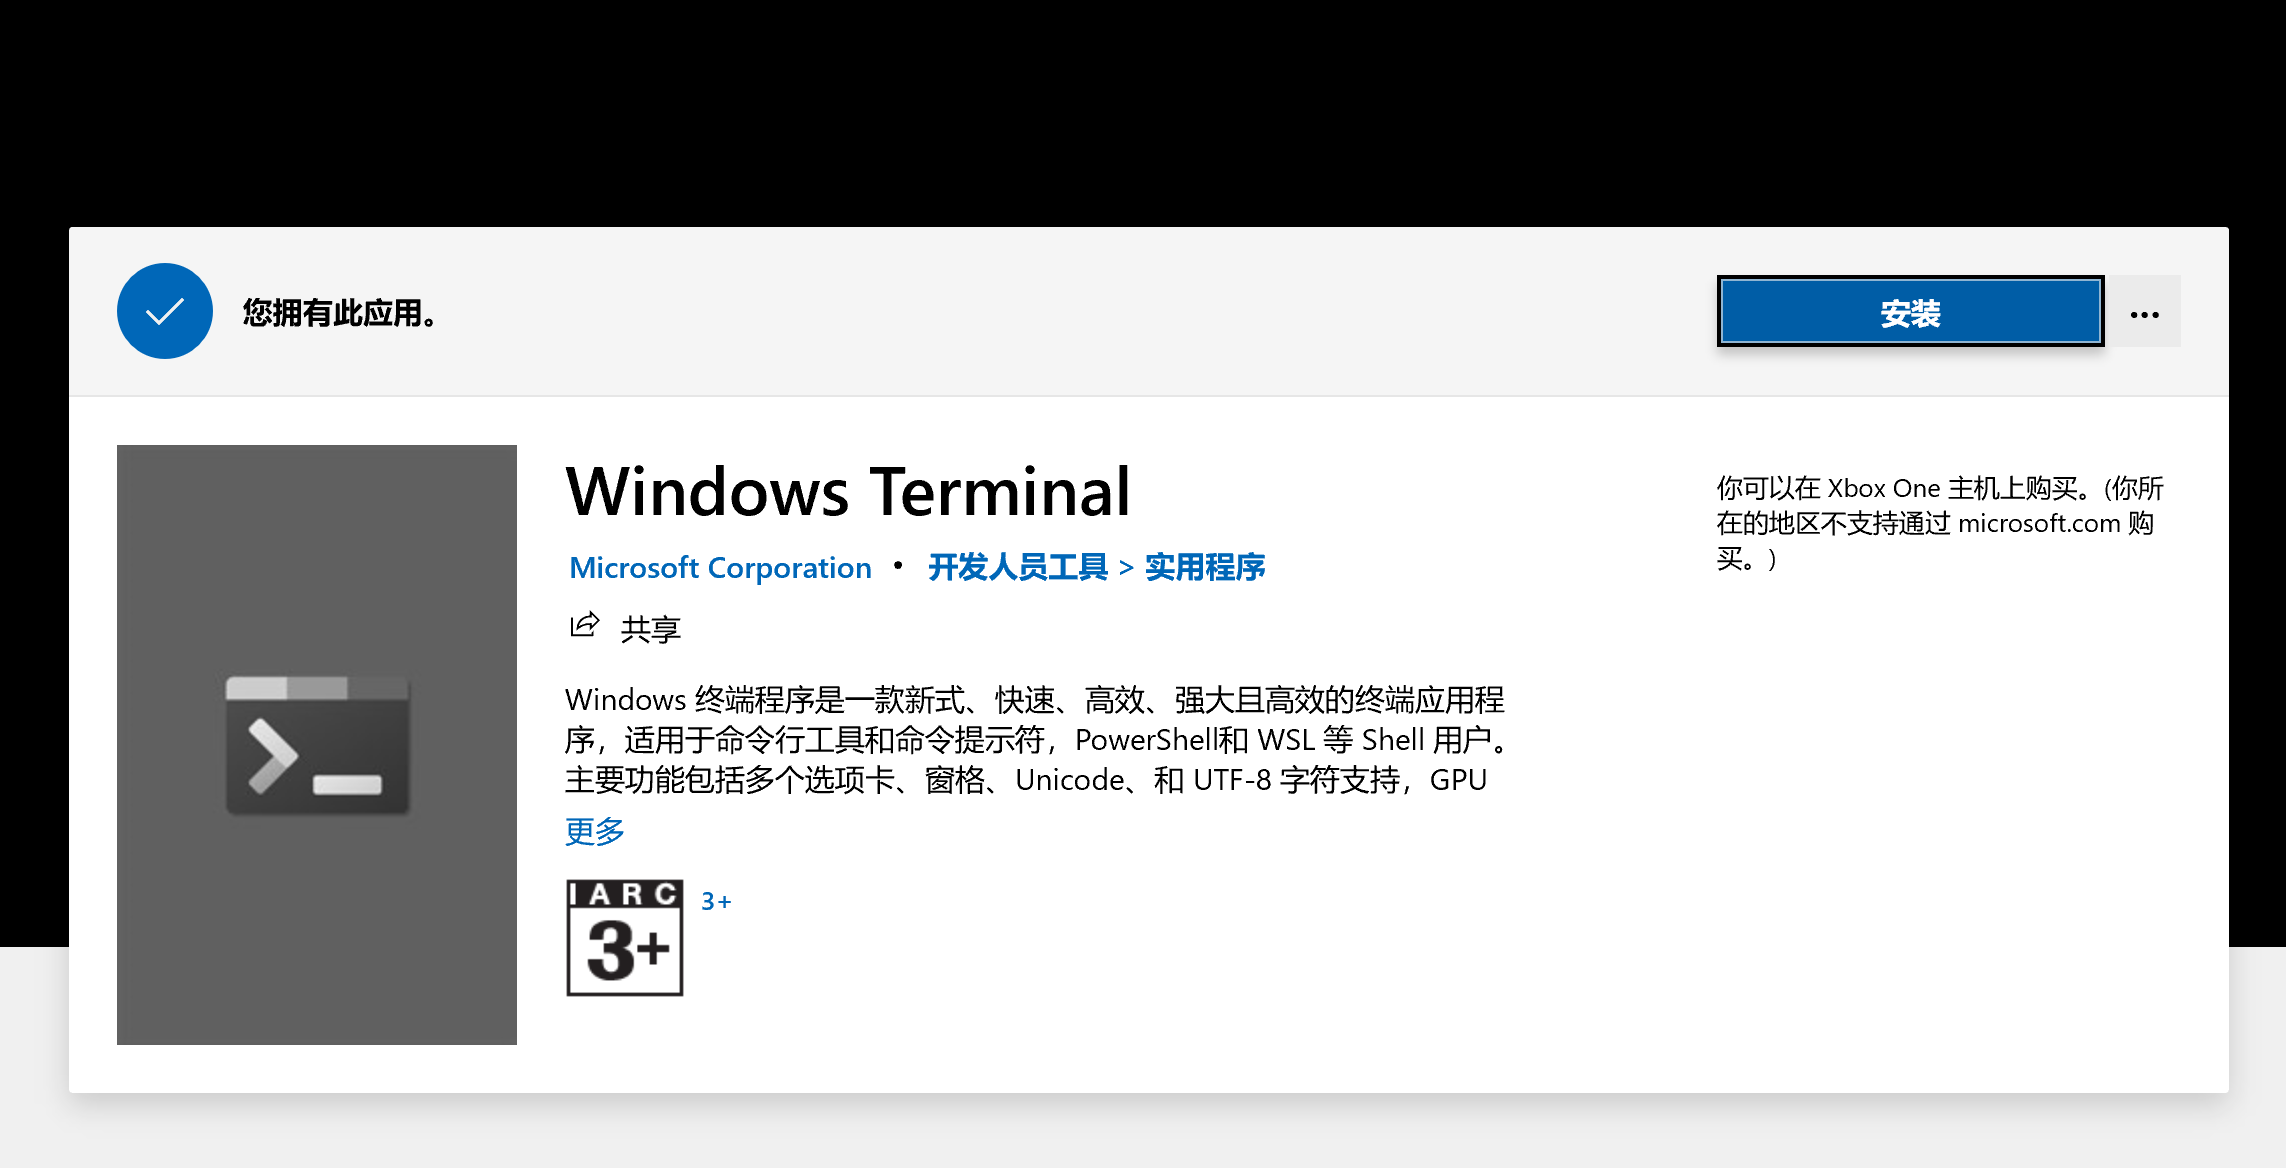
去Microsoft Store安装Windows 终端,如果无法访问也可以选择从github安装内部版本,注意这个版本不会自动更新为最新版本。
store1
store2
二.运行
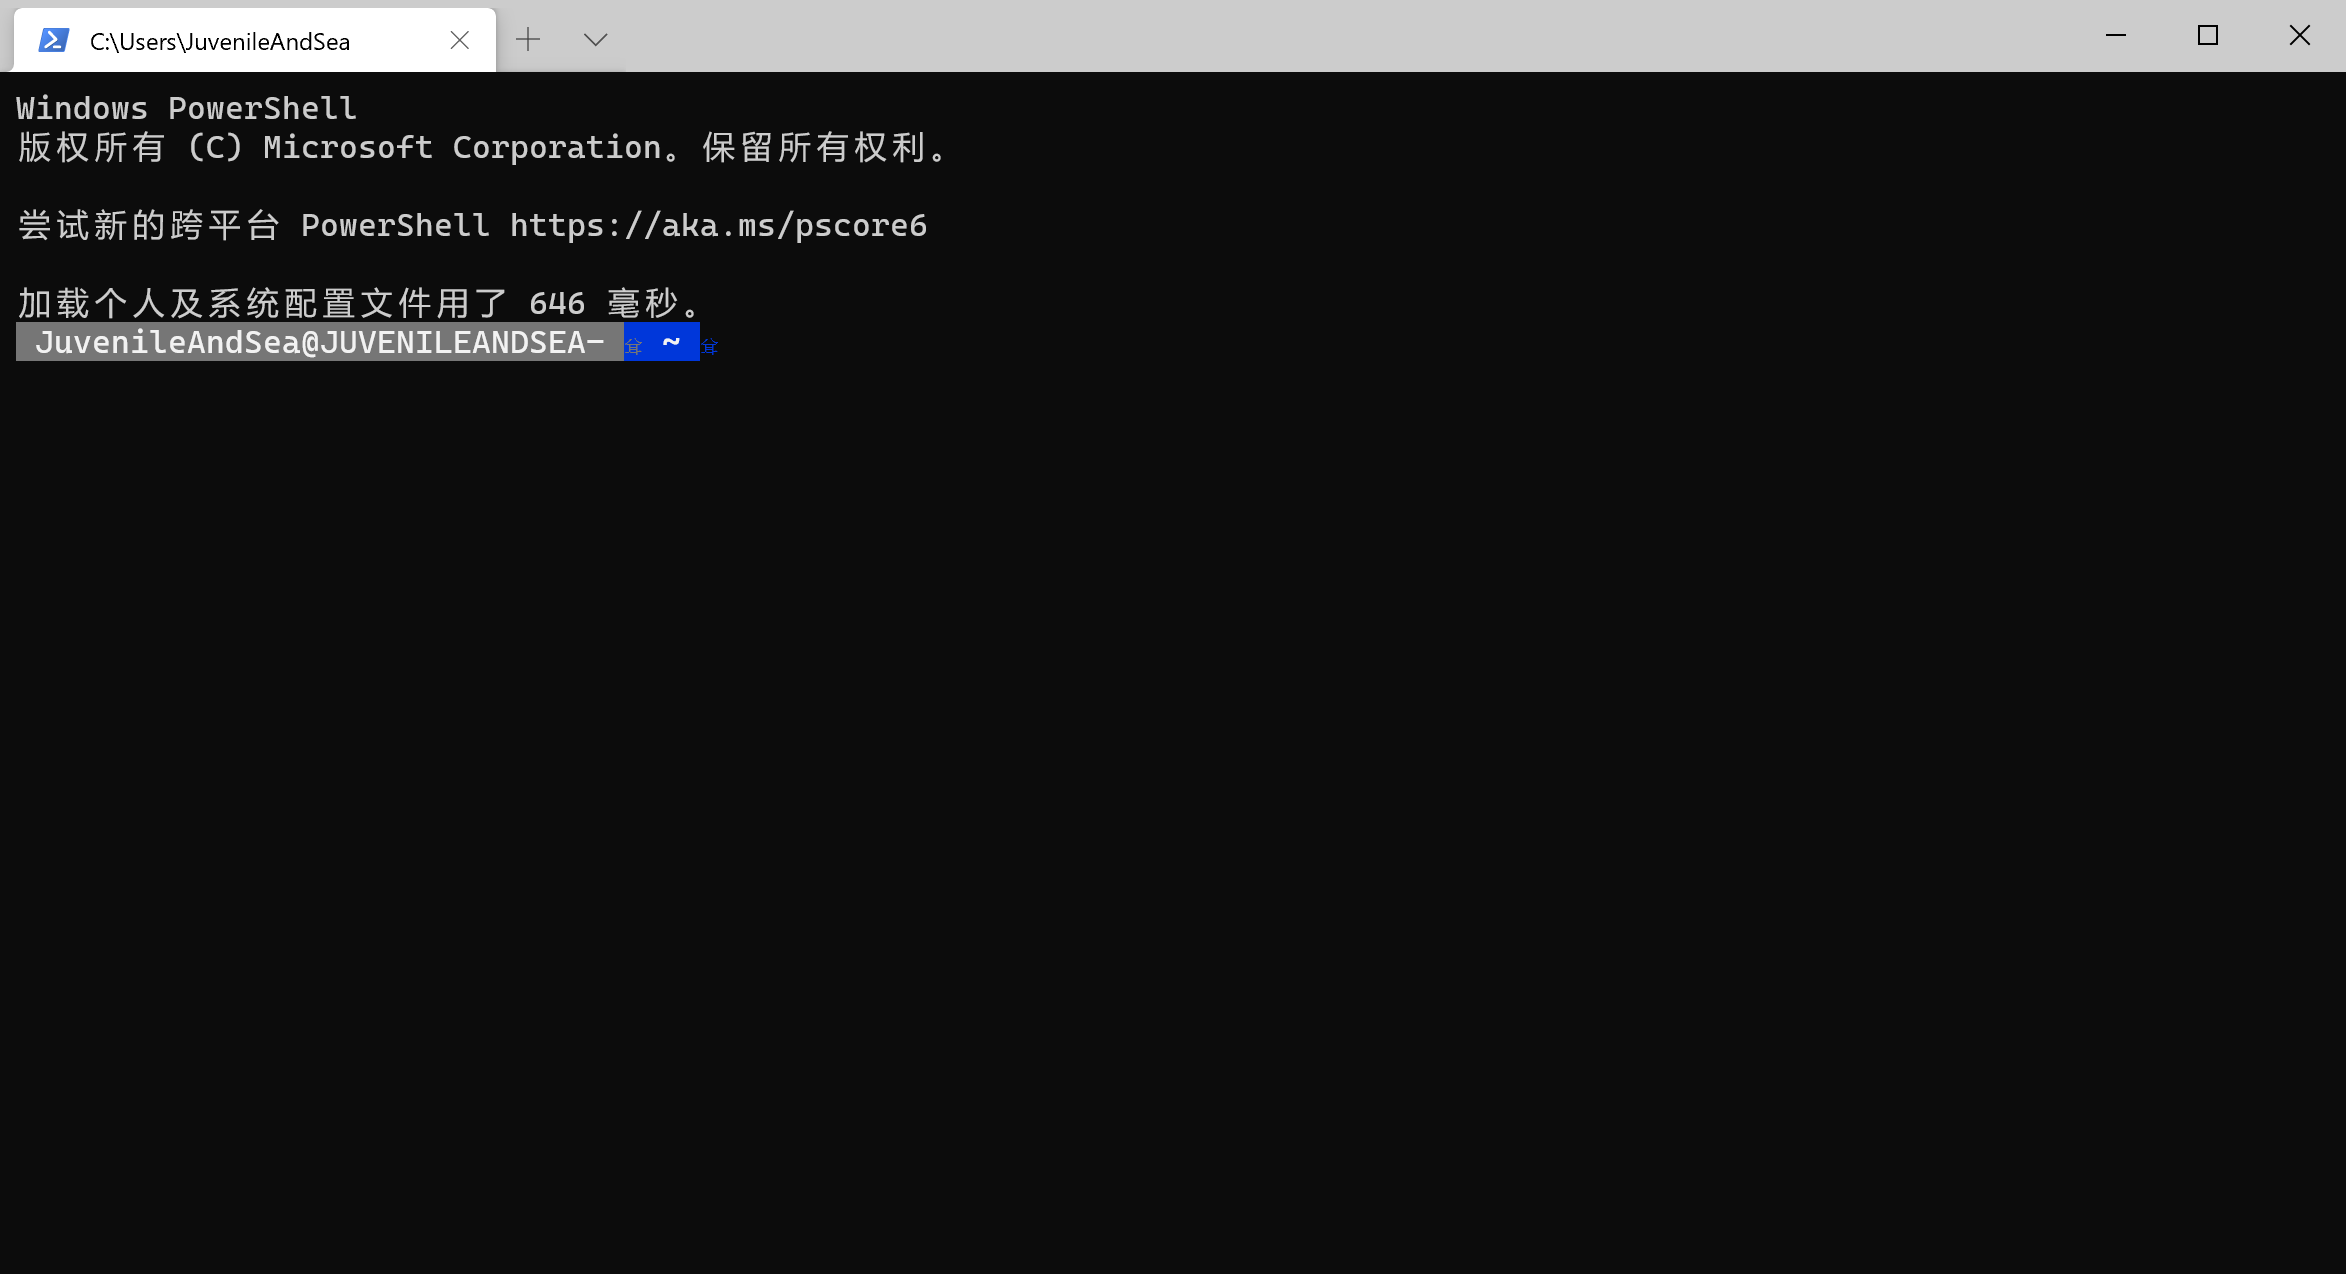
安装后打开大概是这个样子
运行
三.美化
1.准备工作
- 安装支持Powerline的字体,这里个人使用的JetBrains Mono字体,喜欢其他Powerline字体也可以自行安装
管理员身份运行powershell执行命令
set-executionpolicy remotesigned 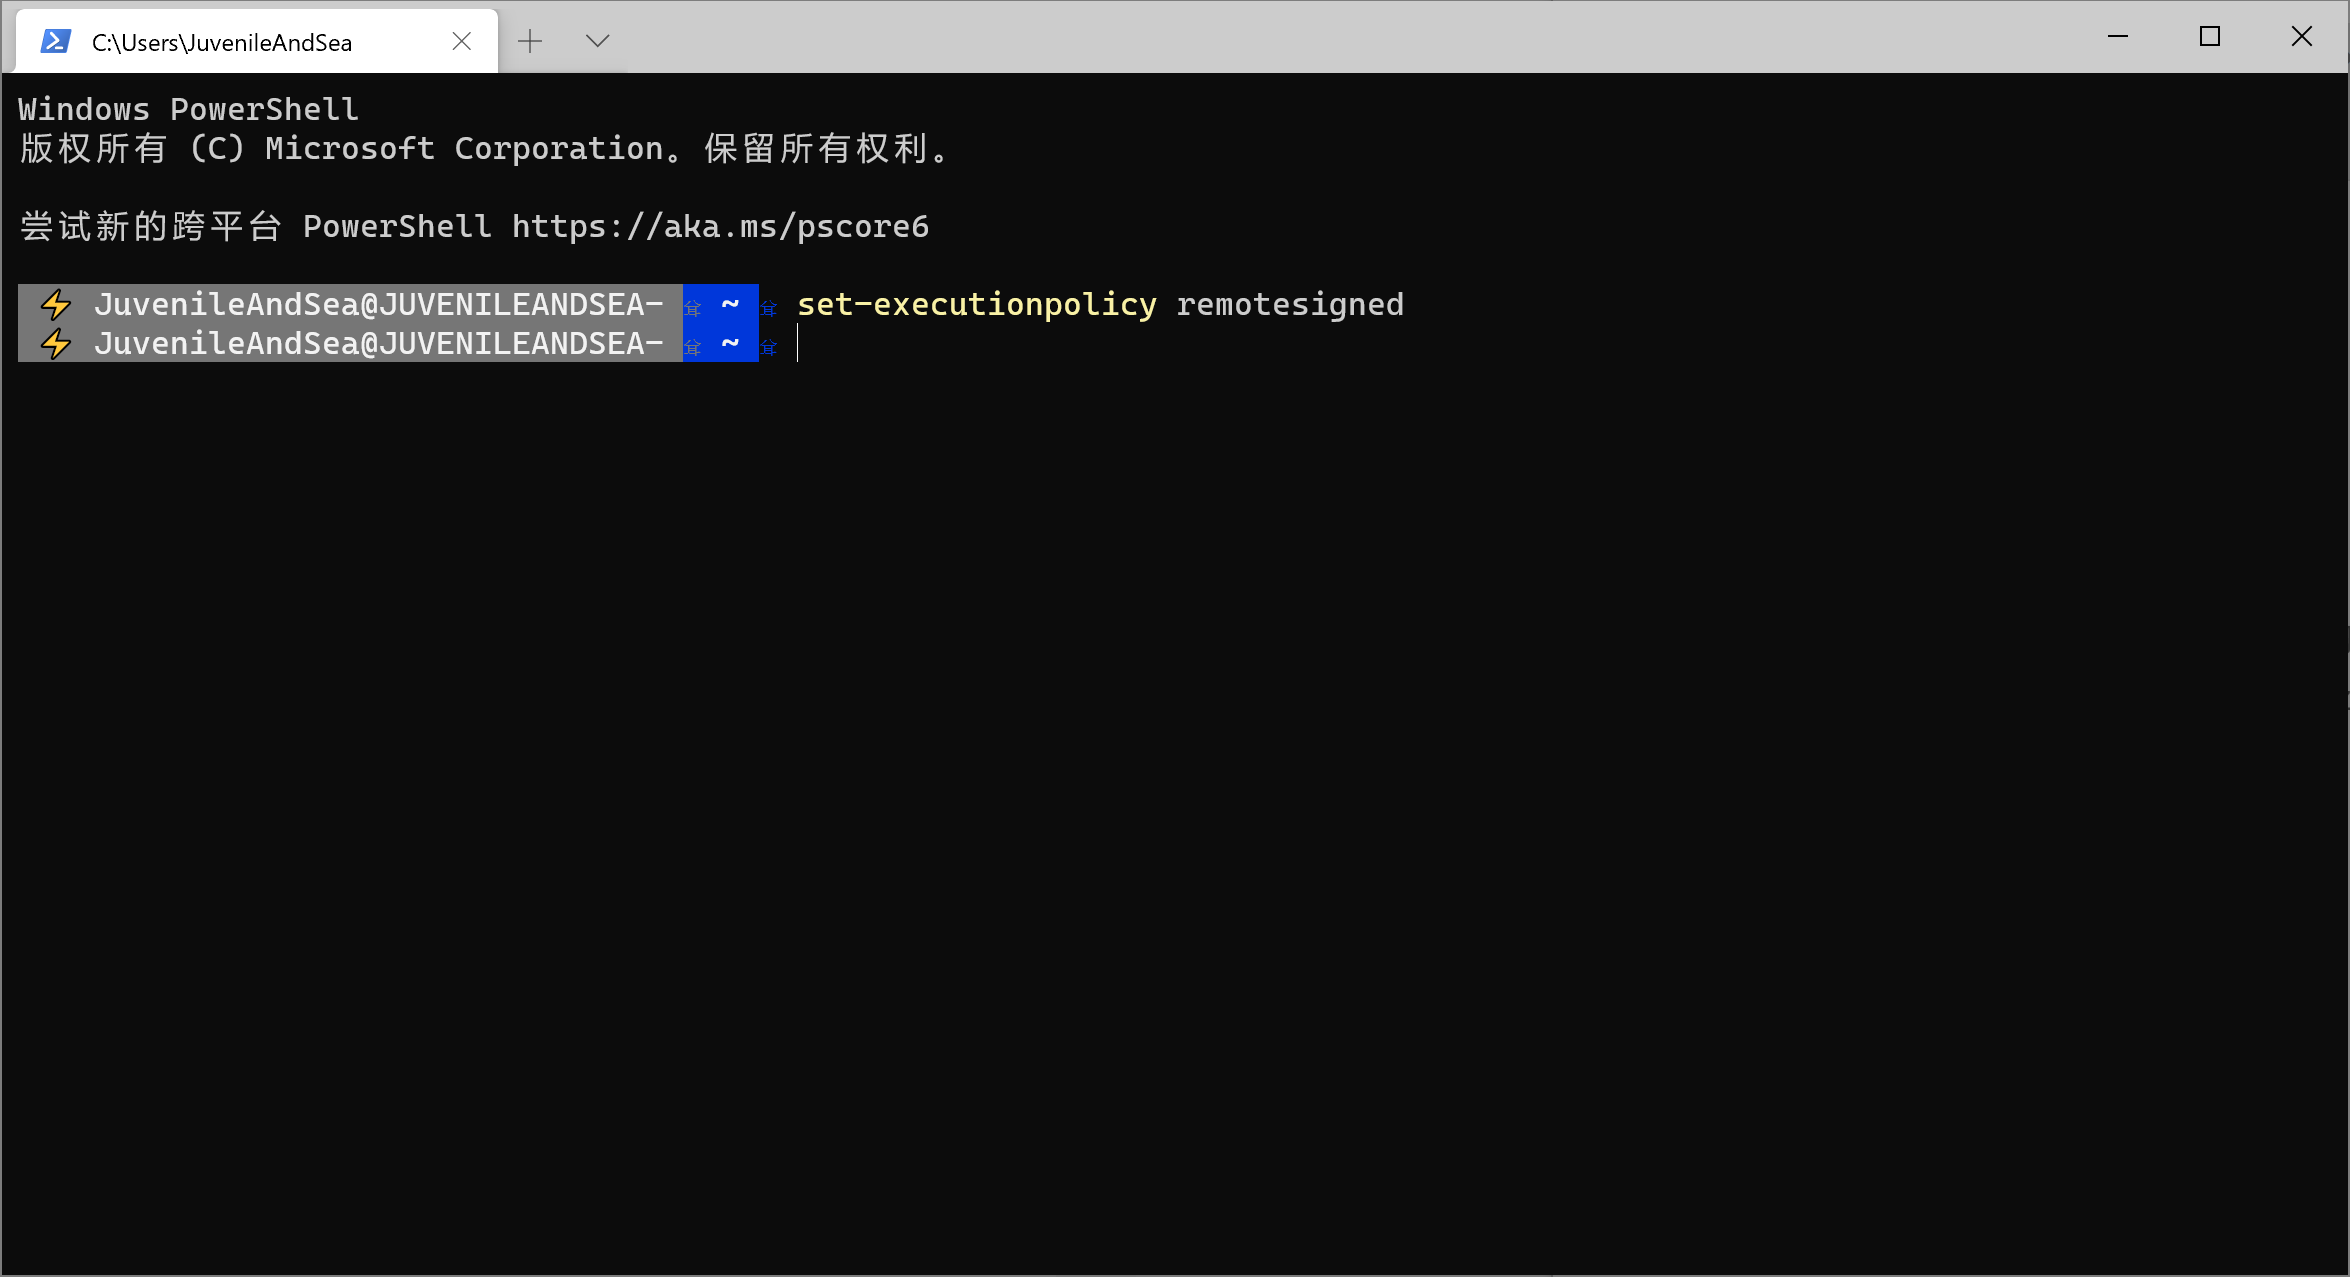
准备工作
- 安装git
2.PowerShell执行命令
命令逐条执行
Install-Module posh-git -Scope CurrentUser
Install-Module oh-my-posh -Scope CurrentUser 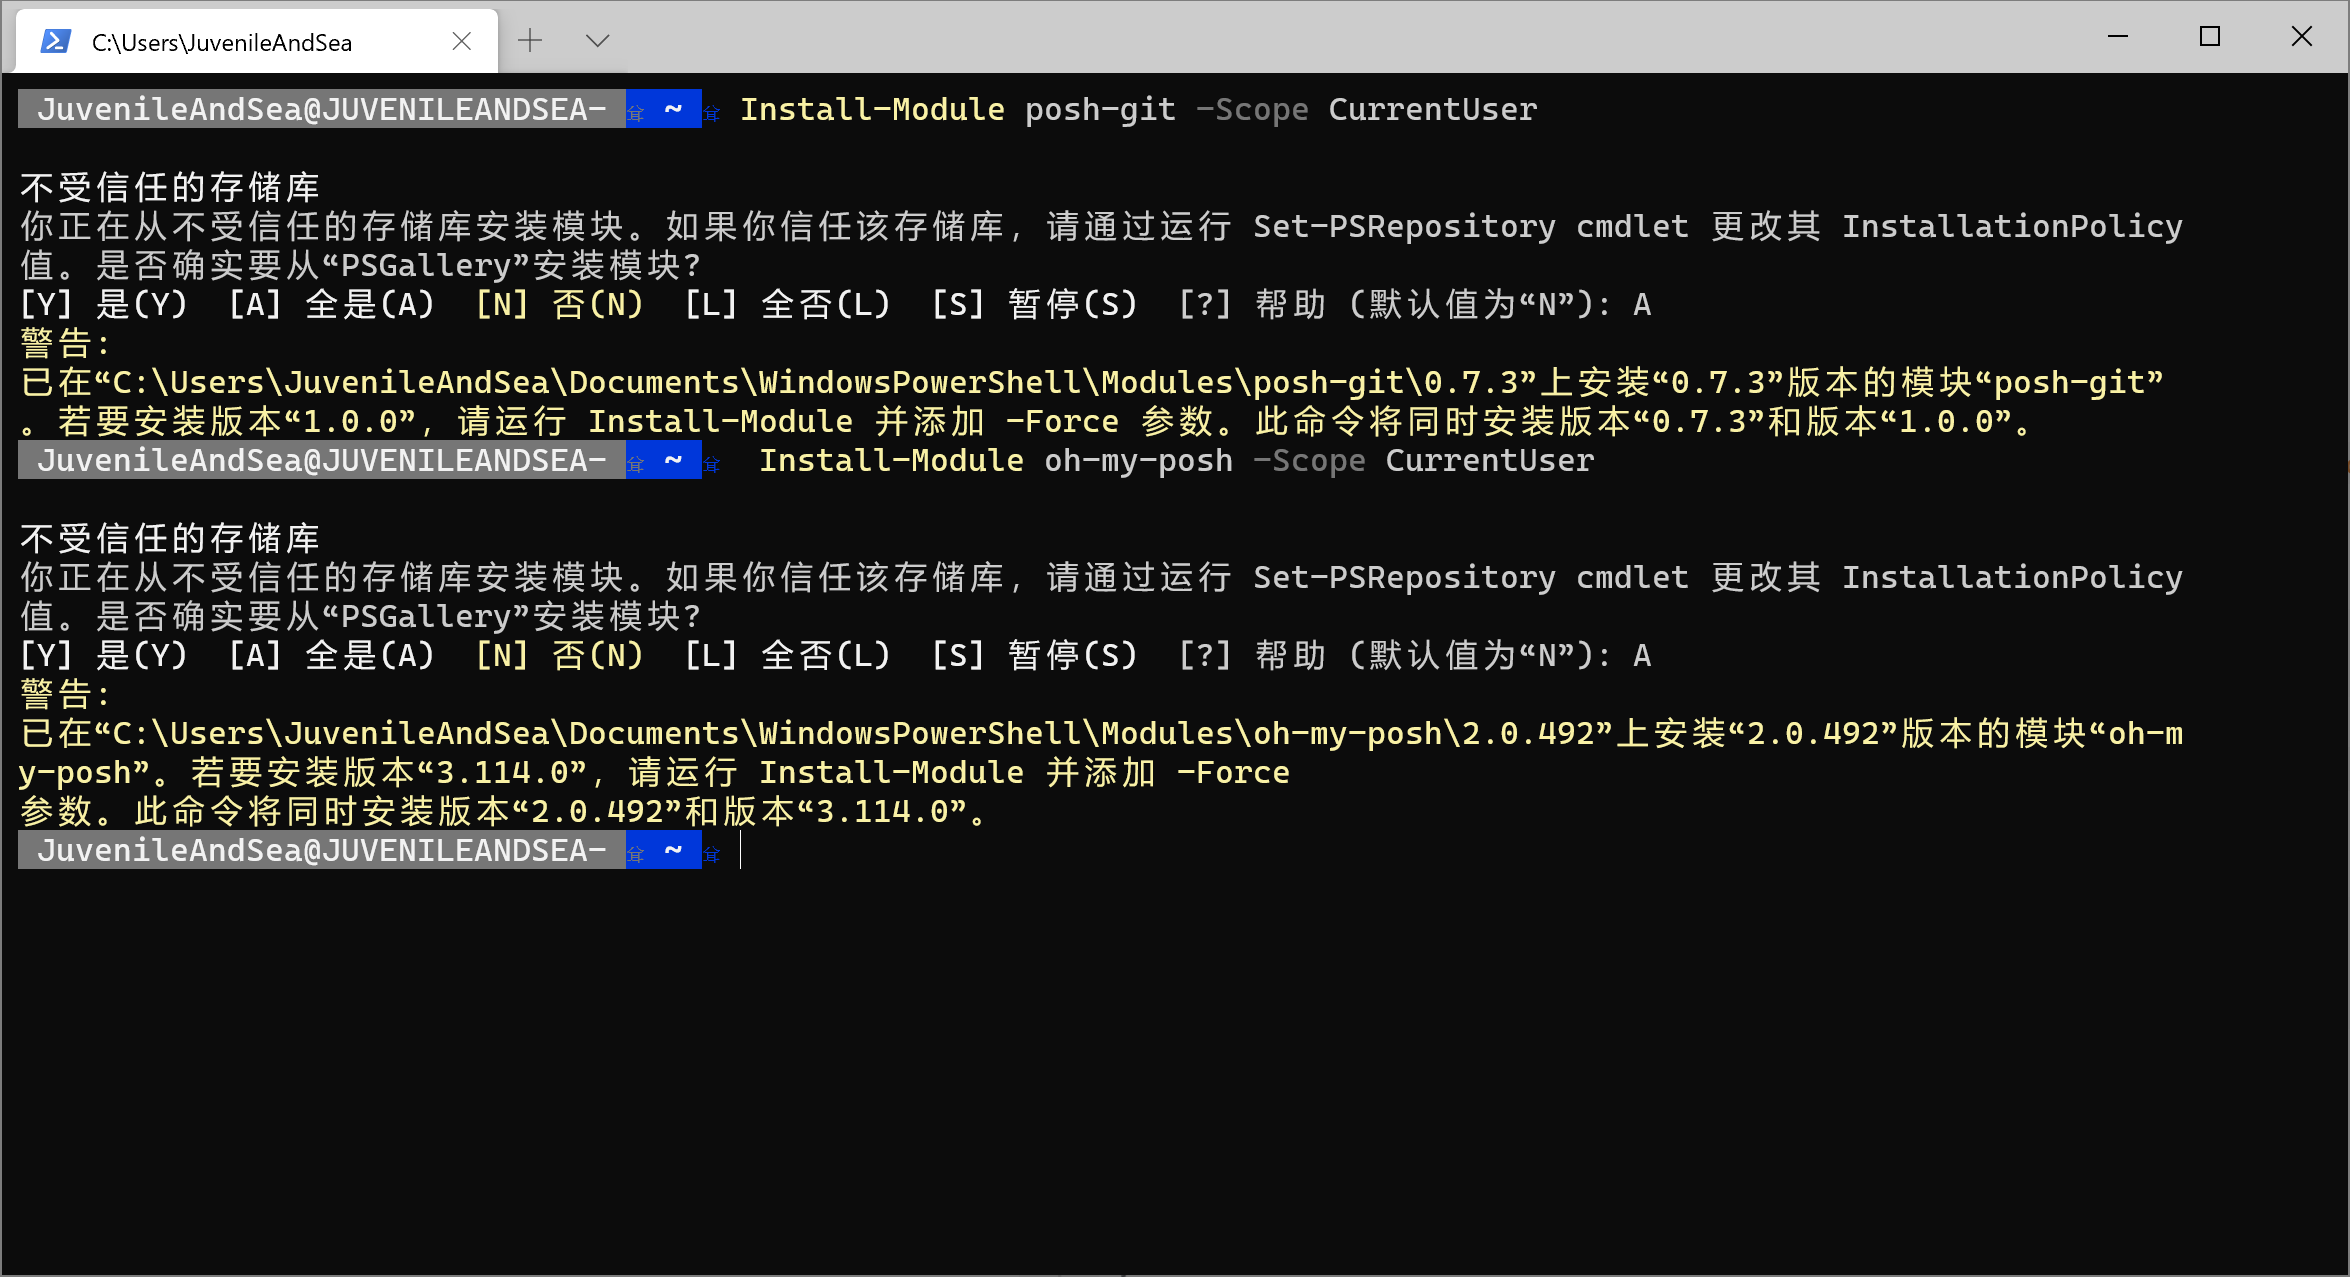
执行命令
3.创建必须文件
打开用户目录下的文档里的WindowsPowerShell文件夹,创建名为Microsoft.PowerShell_profile.ps1的文本文件,注意后缀名别写错
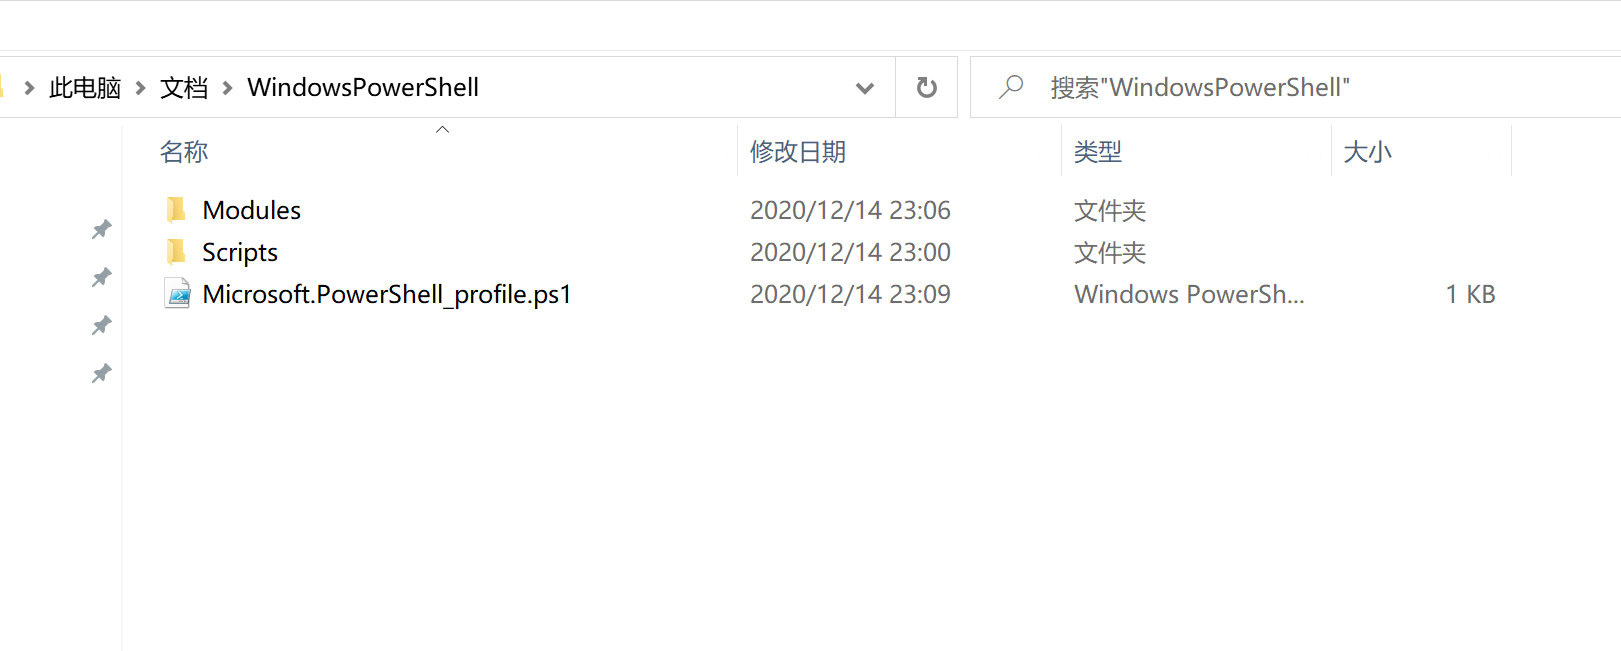
PowerShell_profile
文档写入如下内容,完了之后记得保存
Import-Module posh-git
Import-Module oh-my-posh
Set-Theme PowerLine
4.重启PowerShell
5.修改默认设置
打开Windows Terminal设置文件
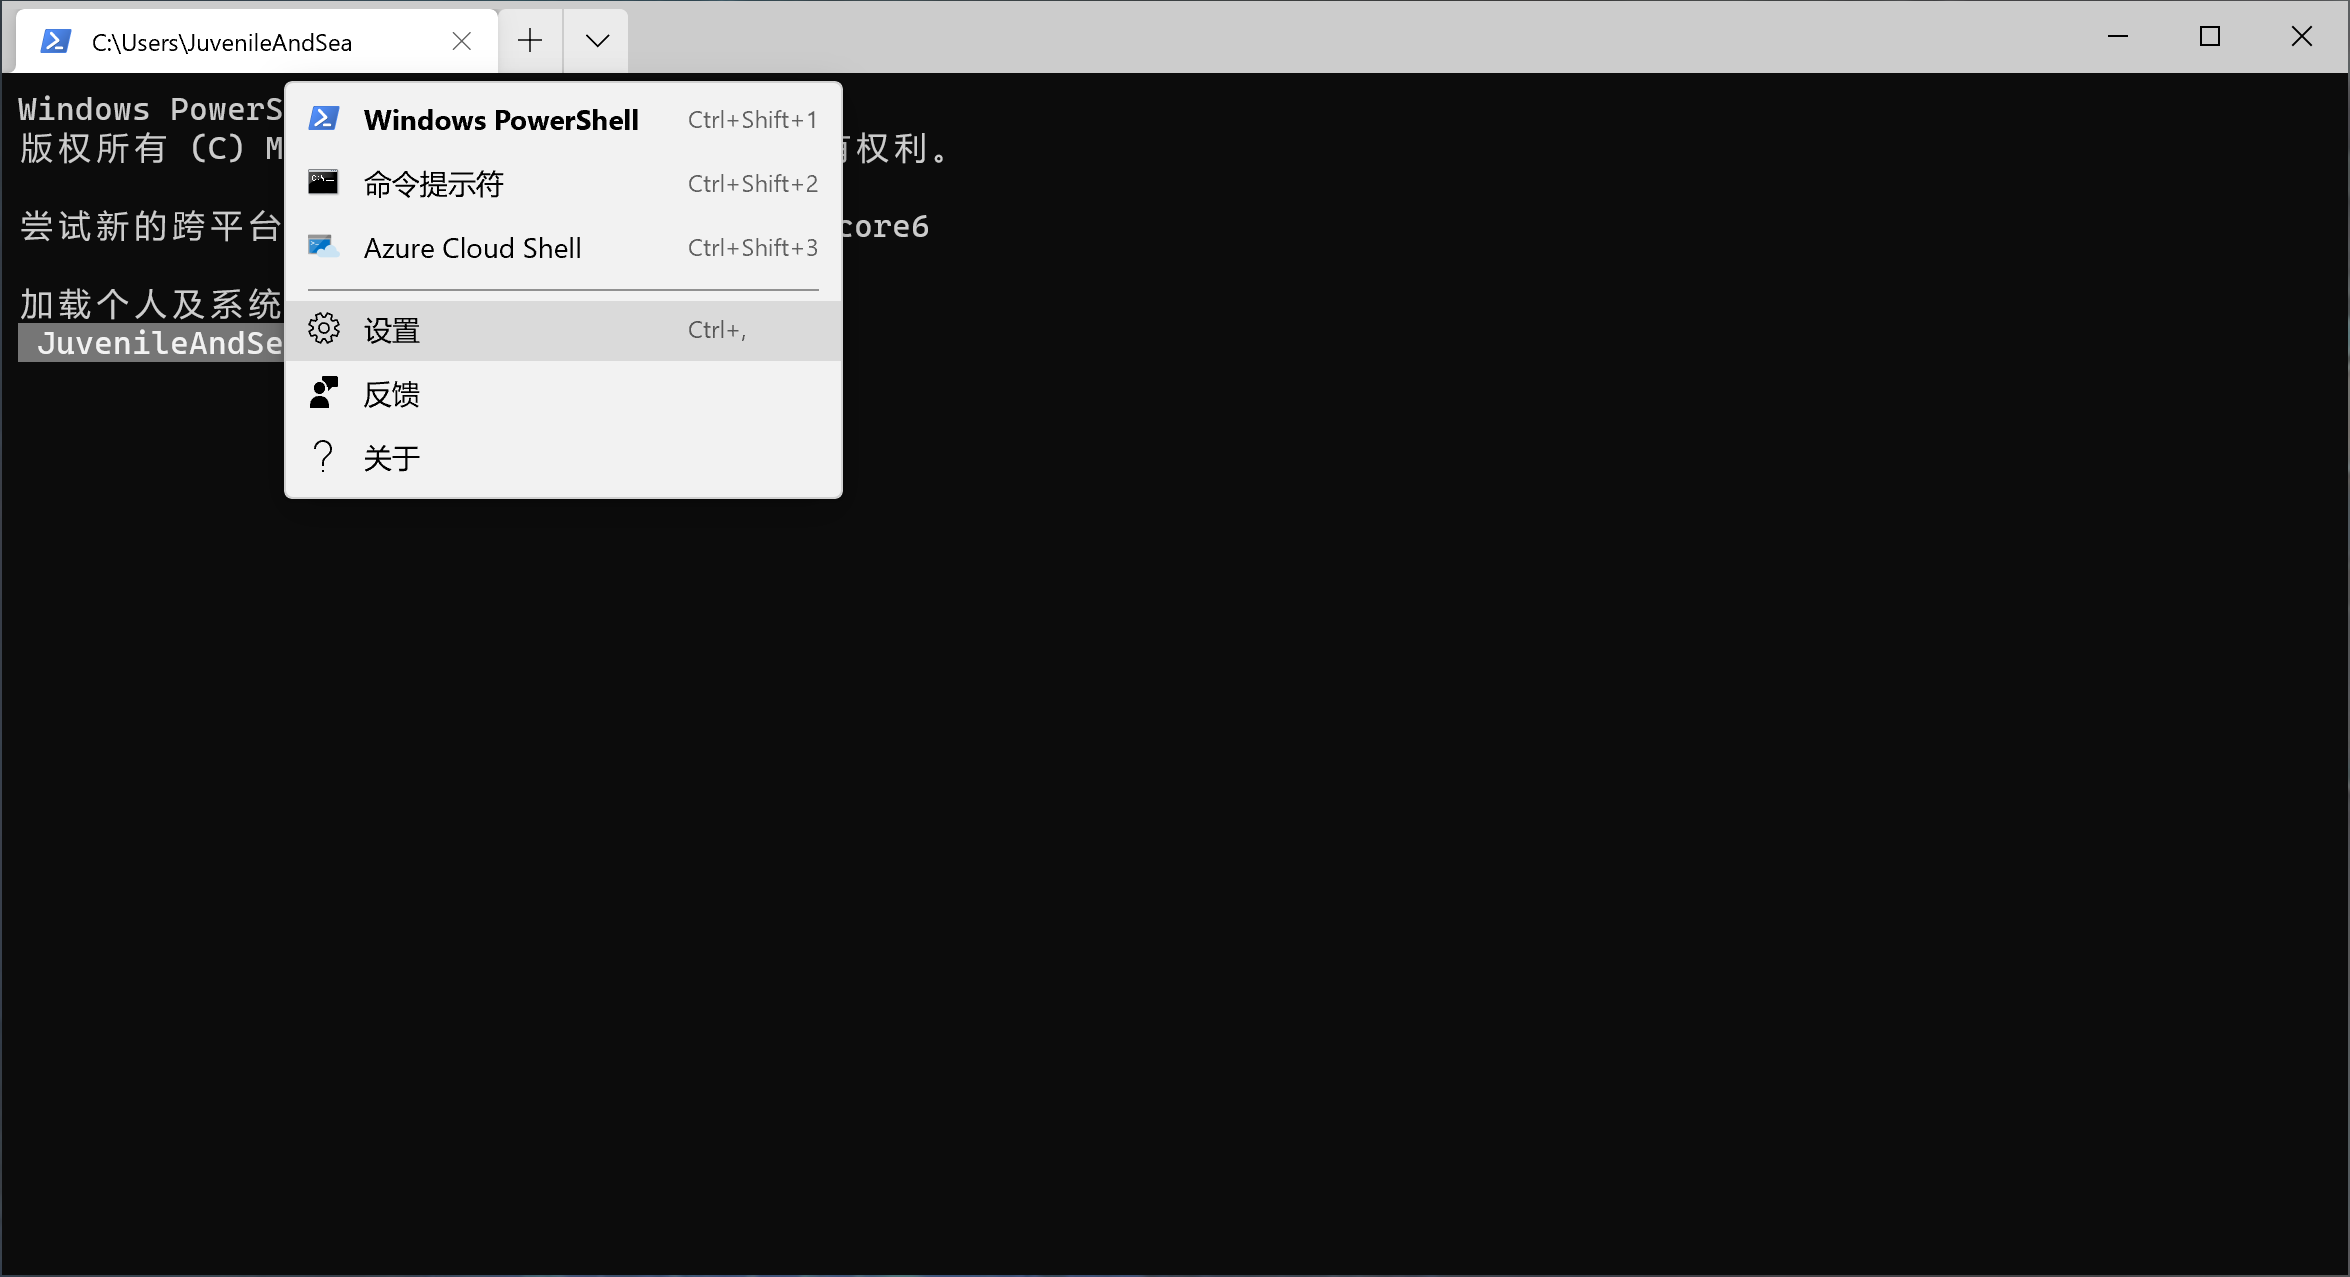
打开Windows Terminal设置文件
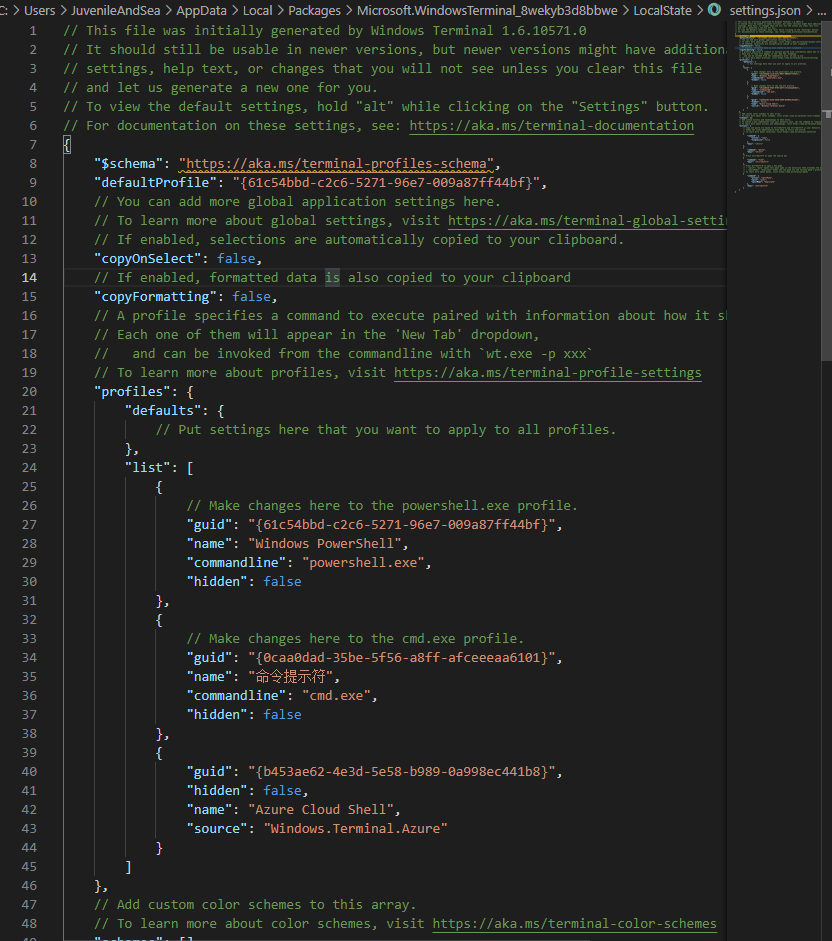
设置文件
在profiles的defaults中加入
"fontFace": "JetBrains Mono", // 字体
"fontSize": 11,//字体大小
"padding": "2, 8, 8, 8",//边距
"useAcrylic": true,// 开启毛玻璃效果
"acrylicOpacity": 0.5// 毛玻璃透明度 
默认设置
修改后的效果
其他设置可参考官方文档

默认设置效果
6.定义主题
下面是我用的主题
{
  "name": "Andromeda",
  "black": "#000000",
  "red": "#cd3131",
  "green": "#05bc79",
  "yellow": "#e5e512",
  "blue": "#2472c8",
  "purple": "#bc3fbc",
  "cyan": "#0fa8cd",
  "white": "#e5e5e5",
  "brightBlack": "#666666",
  "brightRed": "#cd3131",
  "brightGreen": "#05bc79",
  "brightYellow": "#e5e512",
  "brightBlue": "#2472c8",
  "brightPurple": "#bc3fbc",
  "brightCyan": "#0fa8cd",
  "brightWhite": "#e5e5e5",
  "background": "#262a33",
  "foreground": "#e5e5e5"
} 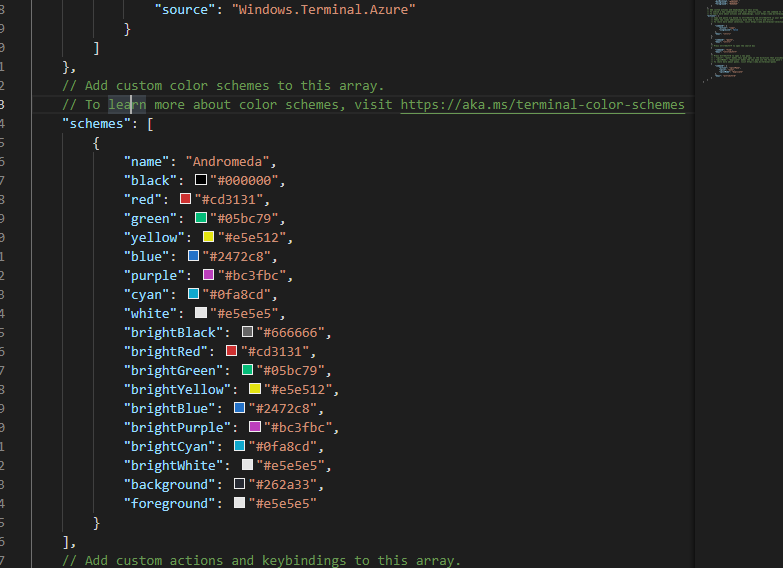
定义主题
使用主题,在刚才的profiles的defaults中加入
"colorScheme": "Andromeda" 最终效果

最终效果
另外可以去这里看看有很多主题可以自己选择你喜欢的主题,也可以自定义主题
本文转自 https://www.jianshu.com/p/8d3404cd2484,如有侵权,请联系删除。


