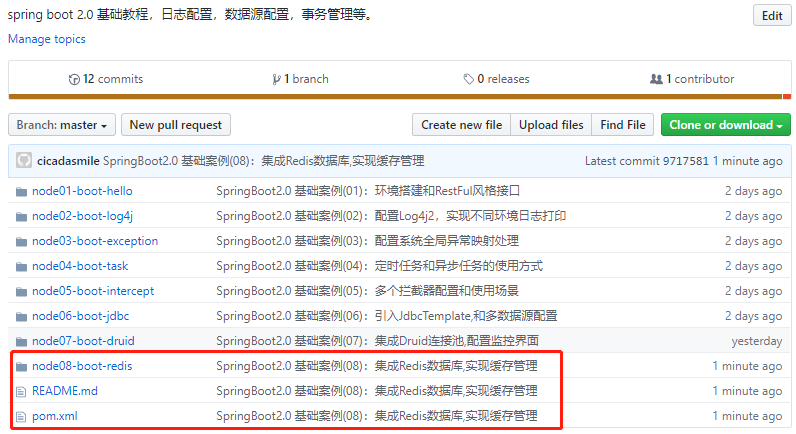
本文源码
GitHub:知了一笑
https://github.com/cicadasmile/spring-boot-base
一、Redis简介
Spring Boot中除了对常用的关系型数据库提供了优秀的自动化支持之外,对于很多NoSQL数据库一样提供了自动化配置的支持,包括:Redis, MongoDB, Elasticsearch。这些案例整理好后,陆续都会上传Git。
SpringBoot2 版本,支持的组件越来越丰富,对Redis的支持不仅仅是扩展了API,更是替换掉底层Jedis的依赖,换成Lettuce。 本案例需要本地安装一台Redis数据库。
二、Spring2.0集成Redis
1、核心依赖
<dependency>
    <groupid>org.springframework.boot</groupid>
    <artifactid>spring-boot-starter-data-redis</artifactid>
</dependency>
2、配置文件
# 端口
server:
  port: 8008
spring:
  application:
    # 应用名称
    name: node08-boot-redis
  # redis 配置
  redis:
    host: 127.0.0.1
    #超时连接
    timeout: 1000ms
    jedis:
      pool:
        #最大连接数据库连接数,设 0 为没有限制
        max-active: 8
        #最大等待连接中的数量,设 0 为没有限制
        max-idle: 8
        #最大建立连接等待时间。如果超过此时间将接到异常。设为-1表示无限制。
        max-wait: -1ms
        #最小等待连接中的数量,设 0 为没有限制
        min-idle: 0
这样Redis的环境就配置成功了,已经可以直接使用封装好的API了。
3、简单测试案例
import org.springframework.data.redis.core.RedisTemplate;
import org.springframework.data.redis.core.StringRedisTemplate;
import org.springframework.web.bind.annotation.RequestMapping;
import org.springframework.web.bind.annotation.RestController;
import javax.annotation.Resource;
import java.util.concurrent.TimeUnit;
@RestController
public class RedisController {
    @Resource
    private StringRedisTemplate stringRedisTemplate ;
    @RequestMapping("/setGet")
    public String setGet (){
        stringRedisTemplate.opsForValue().set("cicada","smile");
        return stringRedisTemplate.opsForValue().get("cicada") ;
    }
    @Resource
    private RedisTemplate redisTemplate ;
    /**
     * 设置 Key 的有效期 10 秒
     */
    @RequestMapping("/setKeyTime")
    public String setKeyTime (){
        redisTemplate.opsForValue().set("timeKey","timeValue",10, TimeUnit.SECONDS);
        return "success" ;
    }
    @RequestMapping("/getTimeKey")
    public String getTimeKey (){
        // 这里 Key 过期后,返回的是字符串 'null'
        return String.valueOf(redisTemplate.opsForValue().get("timeKey")) ;
    }
}
4、自定义序列化配置
import org.slf4j.Logger;
import org.slf4j.LoggerFactory;
import org.springframework.context.annotation.Bean;
import org.springframework.context.annotation.Configuration;
import org.springframework.data.redis.connection.lettuce.LettuceConnectionFactory;
import org.springframework.data.redis.core.RedisTemplate;
import org.springframework.data.redis.serializer.GenericJackson2JsonRedisSerializer;
import org.springframework.data.redis.serializer.StringRedisSerializer;
import java.io.Serializable;
/**
* Redis 配置
*/
@Configuration
public class RedisConfig {
private static final Logger LOGGER = LoggerFactory.getLogger(RedisConfig.class) ;
/**
* 序列化配置
*/
@Bean
public RedisTemplate<string, serializable> redisTemplate
(LettuceConnectionFactory redisConnectionFactory) {
LOGGER.info("RedisConfig == >> redisTemplate ");
RedisTemplate<string, serializable> template = new RedisTemplate<>();
template.setKeySerializer(new StringRedisSerializer());
template.setValueSerializer(new GenericJackson2JsonRedisSerializer());
template.setConnectionFactory(redisConnectionFactory);
return template;
}
}
5、序列化测试
import com.boot.redis.entity.User;
import org.springframework.data.redis.core.RedisTemplate;
import org.springframework.web.bind.annotation.RequestMapping;
import org.springframework.web.bind.annotation.RestController;
import javax.annotation.Resource;
import java.util.ArrayList;
import java.util.List;
@RestController
public class SerializeController {
@Resource
private RedisTemplate redisTemplate ;
@RequestMapping("/setUser")
public String setUser (){
User user = new User() ;
user.setName("cicada");
user.setAge(22);
List<string> list = new ArrayList<>() ;
list.add("小学");
list.add("初中");
list.add("高中");
list.add("大学");
user.setEducation(list);
redisTemplate.opsForValue().set("userInfo",user);
return "success" ;
}
@RequestMapping("/getUser")
public User getUser (){
return (User)redisTemplate.opsForValue().get("userInfo") ;
}
}
三、源代码地址
GitHub地址:知了一笑
https://github.com/cicadasmile/spring-boot-base
码云地址:知了一笑
https://gitee.com/cicadasmile/spring-boot-base

 </string,></string,>


