先在Centos的虚拟机上操作:
可以参照之前的文章: https://my.oschina.net/Kxvz/blog/420244
SQL脚本地址: https://github.com/Tencent/Tars/tree/master/cpp/framework/sql
安装好了之后进入数据库建库:
## 这里我的数据库帐号密码是: root 123456
## mysql -u root -p123456


create database db_tars;
create database tars_stat;
create database tars_property;
建好库之后就导入db_tars.sql到db_tars库中 (可以参照:https://my.oschina.net/Kxvz/blog/417358)
数据库方面弄完之后可以开始安装 resin
## 下载
wget http://www.caucho.com/download/resin-4.0.49.tar.gz
## 解压出来
tar zxvf resin-4.0.49.tar.gz
解压好 resin 后就可以去打包tars了.
在开发机上操作:
首先进入 Tars\web 目录
修改:src\main\resources 下的 app.config.properties 和 tars.conf
app.config.properties
tarsweb.datasource.tars.addr=127.0.0.1:3306
tarsweb.datasource.tars.user=root
tarsweb.datasource.tars.pswd=123456

upload.tgz.path=\opt\app\
tars.conf
<tars>
    <application>
        #proxy需要的配置
        <client>
            #地址
            locator = tars.tarsregistry.QueryObj@tcp -h 127.0.0.1 -p 17890
            sync-invoke-timeout = 20000
            #最大超时时间(毫秒)
            max-invoke-timeout = 60000
            #刷新端口时间间隔(毫秒)
            refresh-endpoint-interval = 300000
            #模块间调用[可选]
            stat = tars.tarsstat.StatObj
            #网络异步回调线程个数
            asyncthread = 3
            modulename = tars.system
        </client>
    </application>
</tars>
完了之后用maven打包: 在Tars\web目录下使用 cmd 输入: mvn clean install
打包好了以后可以在Tars\web\target 下得到一个 tars.war
然后把 tars.war 上传到 Centos的虚拟机上 并复制到 resin-4.0.49\webapps 目录下
然后进入 resin-4.0.49\conf 目录中 修改 resin.xml 文件
把:
<host id="" root-directory=".">
    <web-app id="/" root-directory="webapps/ROOT"/>
</host>
改为:
<host id="" root-directory=".">
    <web-app id="/" document-directory="webapps/tars"/>
</host>
完成后进进入 resin-4.0.49\bin 目录中:
启动服务:
./resin.sh start
然后访问: http://{YourServerIP}:8080
如果访问不了可能是你的Centos端口被关了 可以自己打开端口或者关闭防火墙
添加端口可以参考 :https://my.oschina.net/Kxvz/blog/900648
关闭防火墙:
systemctl stop firewalld
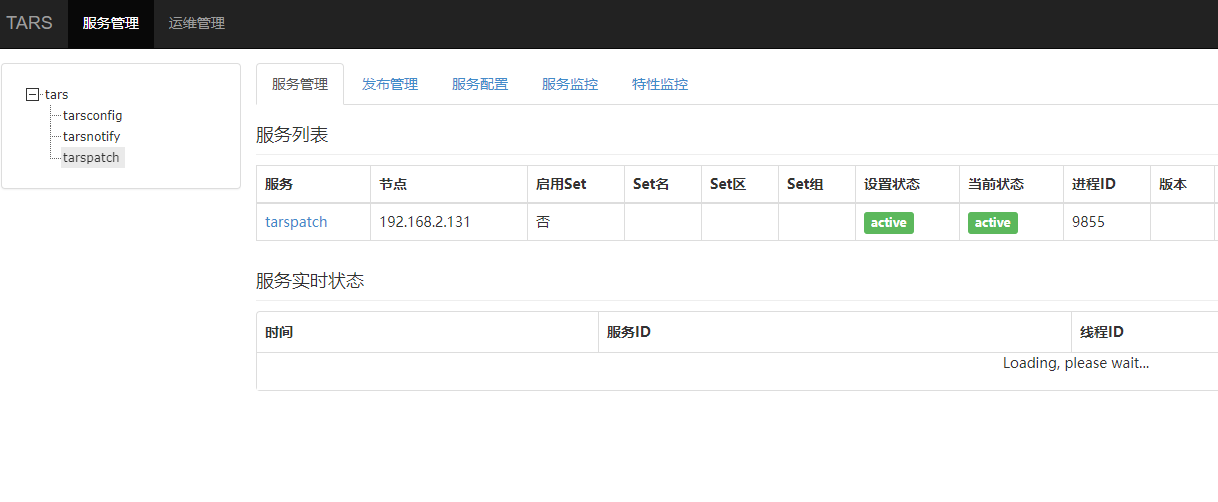
如此应该可以访问了::


