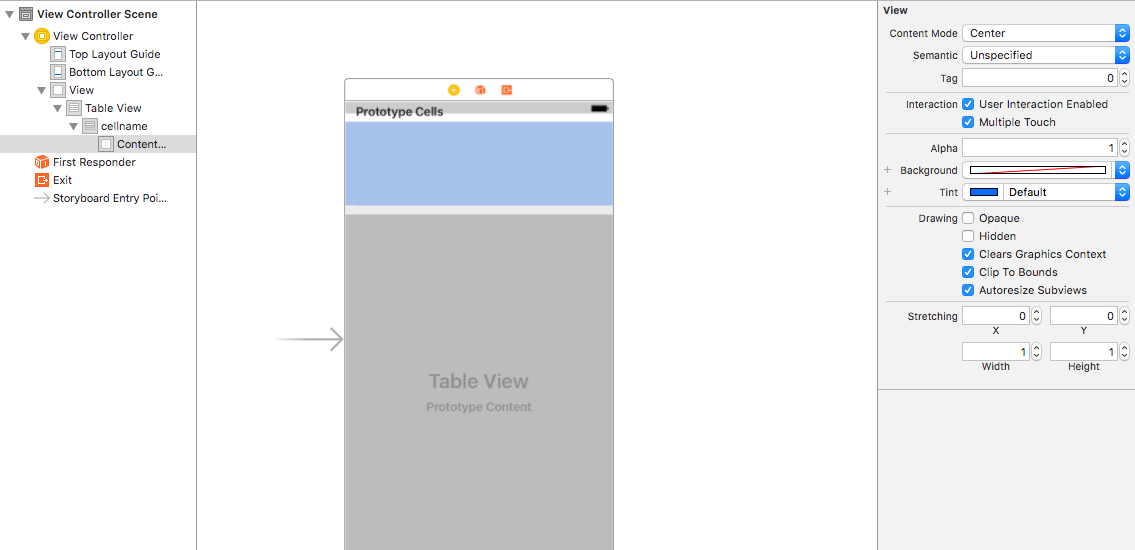
还是实现如下布局

这次在StoryBoard里面,创建TableViewCell,并修改Identifier为cellname

第二步:在VC中
-(UITableViewCell *)tableView:(UITableView *)tableView cellForRowAtIndexPath:(NSIndexPath *)indexPath{
    static NSString *cellname=@"cellname";
    TableViewCell*cell=[tableView dequeueReusableCellWithIdentifier:cellname];
//先判读Cell所在位置,在对应位置添加不同控件
    if (indexPath.section==0) {
        if (indexPath.row==0) {
//用代码创建控件
            UILabel*lable=[[UILabel alloc]initWithFrame:CGRectMake(20, 20, 65, 20)];
            lable.text=@"姓名";
            UITextField*tf=[[UITextField alloc]initWithFrame:CGRectMake(215, 5, 100, 30)];
//添加到当前Cell中
            [cell.contentView addSubview:lable];
            [cell.contentView addSubview:tf];
            }
    }
    return cell;

   }
这里只举例说明,第一个Cell的控件创建方法,其余Cell的创建方法类推即可。


