Visual studio code是微软发布的一个运行于 Mac OS X、Windows和 Linux 之上的,针对于编写现代 Web 和云应用的跨平台源代码编辑器。
1. VsCode安装
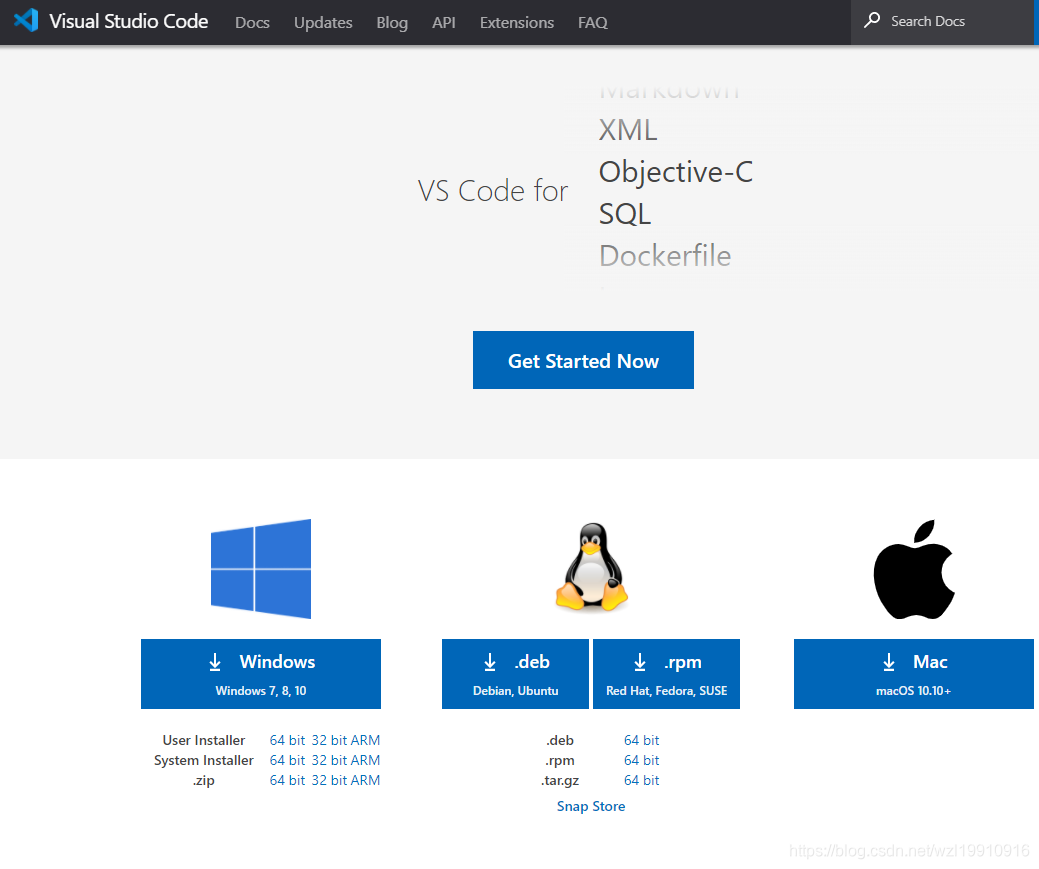
VScode官网下载.deb文件,网址链接如下:https://code.visualstudio.com/#alt-downloads

执行下面命令安装VsCode: sudo dpkg -i code_1.48.2-1598353430_amd64.deb

在应用程序中搜索vscode可以看到已经安装成功。

2. Vscode环境配置
2.1 安装c/c++插件
通过左侧的Extensions栏目安装C/C++插件,这里我已经安装。

2.2 建立工程
1. 由于VScode是以文件夹的形式管理工程的,因此我们首先新建一个文件夹,我这里取名叫eigen_VsCode,表示创建基于Vs_Code创建一个Eigen应用程序,文件夹内容是空的。


2. 使用VsCode打开文件夹eigen_VsCode,点击左侧的Explorer,然后点击Open Folder。


3. 在eigen_VsCode目录下新建.cpp文件,这里使用已经存在的eigenMatrix.cpp文件,如下所示:

2.3 更改配置文件(launch.json)
1. 点击左侧的Run, 点击创建一个launch.json文件,C++(GDB/LLDB),将自动生成launch.json文件

2. 生成的默认launch.json文件如下。

3. 将默认launch.json修改成为如下,launch.json中各个字段的含义,后面学习中会逐个讲解。
{
// Use IntelliSense to learn about possible attributes.
// Hover to view descriptions of existing attributes.
// For more information, visit: https://go.microsoft.com/fwlink/?linkid=830387
"version": "0.2.0",
"configurations": [
{
"name": "(gdb) 启动",
"type": "cppdbg",
"request": "launch",
"program": "${workspaceFolder}/${fileBasenameNoExtension}",
"args": [],
"stopAtEntry": false,
"cwd": "${workspaceFolder}",
"environment": [],
"externalConsole": false,
"MIMode": "gdb",
"preLaunchTask": "build",
"setupCommands": [
{
"description": "为 gdb 启用整齐打印",
"text": "-enable-pretty-printing",
"ignoreFailures": true
}
]
}
]
}
2.4 添加构建(编译、链接等)任务(tasks.json)
为了方便在VScode里编译C++代码,我们可以将类似g++ -g main.cpp等g++命令写入VScode的任务系统。首先,利用快捷键ctrl+shift+p打开命令行,输入Tasks: Run task,会出现如下提示:

1. 选择No Configured tasks. Configure Tasks...

2. 选择Create task.json file from template

3. 选择Others

4. 生成的默认tasks.json文件如下

这里的label为任务名,我们将”label"= "echo"改为”label"= "build"。由于我们的指令是g++,这里将”command“=”echo Hello“改为”command“=”g++“。然后添加g++的参数args。如果我们的g++指令为:g++ -g main.cpp,这里可以把参数设置为如下

如果我们想配置g++指令为:g++ -g main.cpp -std=c++11 -o main.out,则参数可设置为:

{
// See https://go.microsoft.com/fwlink/?LinkId=733558
// for the documentation about the tasks.json format
"version": "2.0.0",
"tasks": [
{
"label": "build",
"type": "shell",
"command": "g++",
"args": ["-g", "${file}", "-std=c++11", "-o", "${fileBasenameNoExtension}"]
}
]
}
2.5 添加配置库文件支持
使用快捷键ctrl+shift+p调出命令行,选择执行我们的build任务,但是发现build出现错误,提示:
fatal error: Eigen/Core: 没有那个文件或目录
#include <Eigen/Core>
^~~~~~~~~~~~
compilation terminated.


由于代码中使用了eigen库文件,需要配置包含库文件路径。ctrl+shift+p调出命令行,选择C/C++: Edit Configurations(UI)

点击c_cpp_properties.json打开配置文件。

配置如下:

我们只需要再红框的 IncludePath 内加上需要的头文件路径即可,
这里提示下,常用库的头文件常见安装位置如下:
/usr/include//usr/local/include
所以这两个基本要加上的,如果你不知道你安装的库的头文件在哪,但是知道关键的头文件名称,则可以用 locate 命令来查找:
locate ros.h| grep include
这个命令的意思是查找所有ros.h的位置,并且找出路径中带有 include 字段的路径。最终的c_cpp_properties.json配置如下:
{
"configurations": [
{
"name": "Linux",
"includePath": [
"${workspaceFolder}/**",
"/usr/include/",
"/usr/local/include/",
"/usr/include/eigen3/"
],
"defines": [],
"compilerPath": "/usr/bin/gcc",
"cStandard": "c11",
"cppStandard": "c++11",
"intelliSenseMode": "clang-x64"
}
],
"version": 4
}
2.6 编译
使用快捷键ctrl+shift+p调出命令行,选择执行我们的build任务,生成eigenMatrix可执行文件。

2.7 调式运行

首先点击产生断点,然后启动调式。


